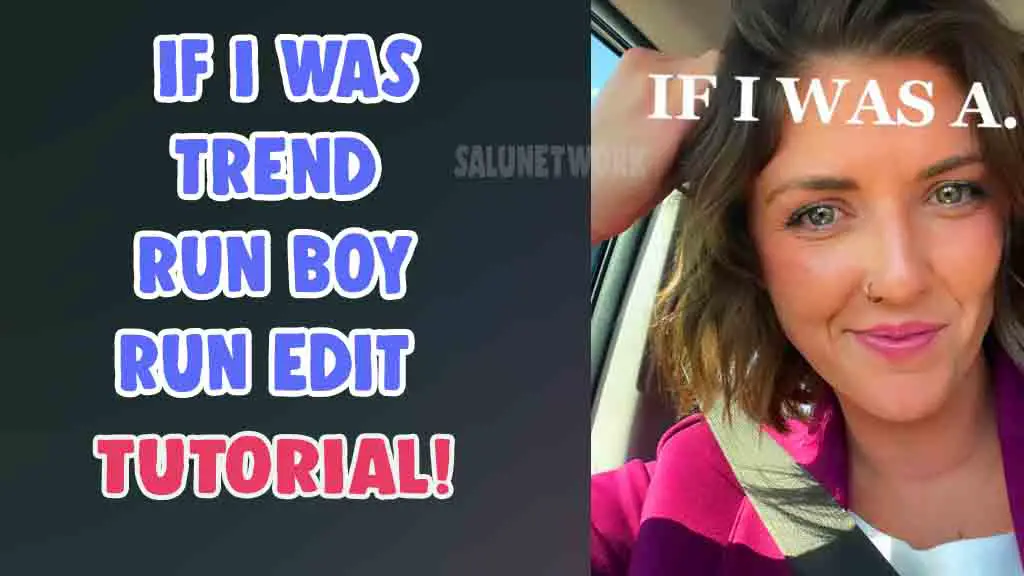
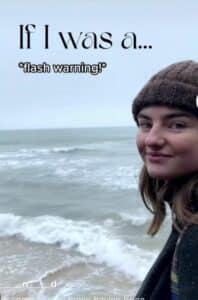
If I was a trend also known as run boy run tiktok video edit trend is now taking over the social media apps like tiktok, Instagram, Facebook, etc. creating a video based on this from the scratch is a very hard and time-consuming process.
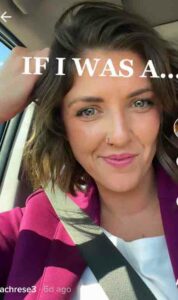
this trend became viral very quickly because users share their personal favorite choices clearly by adding unique images of the items like favorite color, animal, planet, film, celebrity, favorite bird, country, cars, gadgets, best foods, candy, etc as they like. by watching someone’s video based on this you can easily understand their character well.
people who made the following edits also mentioned it takes 7+ hours to combine all of the images and texts accordingly to the music beats. some say they had taken 1-2 days to finish the one-minute duration project that requires adding 500+ images! actually, it takes this much time if you try to add more details and info to it.
if you are planning to create a similar type of this challenge, it’s the perfect time to upload it and show your editing skills and patience to your followers. there is a higher chance to blow it up because it is trending everywhere now! there are some easy steps that can be followed to make such creative things with editing applications.
also read – Best Capcut Templates New Trends
so here is how you can make the if I was trend video edit tutorial easily by using the cap cut video editor,
How to Create If I Was a Trend Run Boy Run Tiktok Tutorial?
To do the run boy run if I was tiktok trend, first of all, you have to install an app called Capcut from the Appstore/play store. another thing you have to do is get the song clip from the tiktok video and save it to your camera roll. so with the help of a cap cut, audio can be easily extracted and separated from the existing video.
Then open Capcut and Create a new project by tapping the + icon and selecting the 9:16 ratio. then start adding the images as you like. make sure to drag the first image/video duration to 5.8-6.1 seconds and add text with your desired fonts in it.
After that try adding many images up to 15 photos per subject. for example, if I was a bird try to add 28-29 bird images and adjust all of the duration to 0.1 or 0.2 seconds and play it and check if it suits well for the beats if there are some issues make sure to drag some of them and cover the area. before doing this step don’t forget to add this video after saving it to the timeline and grab the audio only by selecting the “Add Audio” option shown below the photos session.
Then add an image for another category and add text accordingly. drag the image to the duration of 0.5 seconds and import all other media related to it from the gallery and follow the same steps like 0.1 or 0.2 seconds per one.
here you can also check out a video explaining all of the steps clearly,